Kites
Material required:
- 1 spruce batten, 70 cm long, 0.5 cm thick
- 1 spruce batten, 40 cm long, 0.5 cm thick
- Silk paper (for the kite)
- craft paper (for the kite-tail)
- string (approx. 20 meters)
- BLANCOL special adhesive NATMAT
- BLANCOL glue stick
- BLANCOL Glitter Glue CLASSIC, NEON and/or CONFETTI
- BLANCOL Puffy Paint
- File

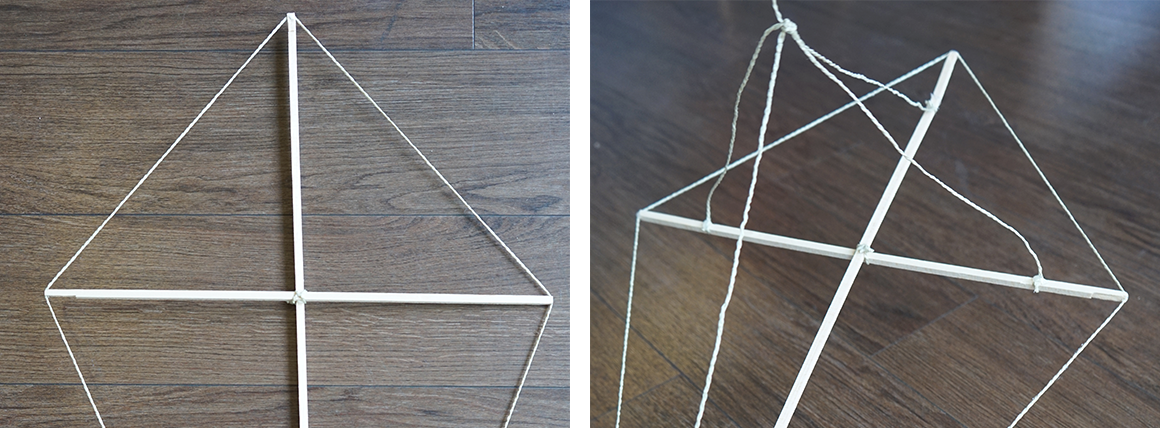
1. Notches, each 2 mm deep, are filed into the ends of the wooden battens. Later the string runs through these notches to cover the kite scaffold. The two battens are now laid on top of each other like a cross. The horizontal batten (smaller batten) is glued approx. 23 cm away from the upper end of the vertical batten (long batten) with BLANCOL special adhesive NATMAT. A cord is wrapped around the intersection point of the frame for stability.
To fasten the pull cords, file additional notches on each side approx. 1/3 of the end of the wooden strips – a total of 4.
2. The whole scaffold is now tied with a string, which runs through the notches made at the edge. The string can also be fixed in the notches with a little glue for safety.

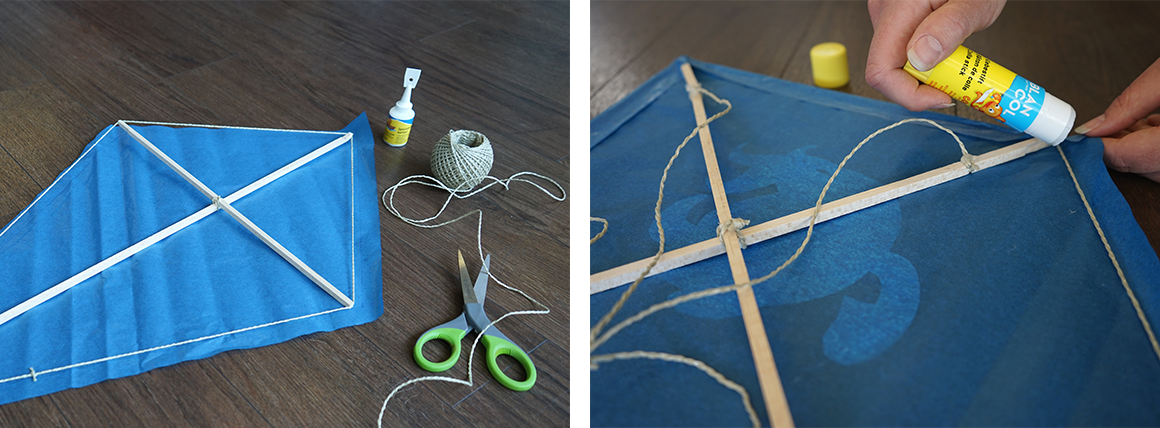
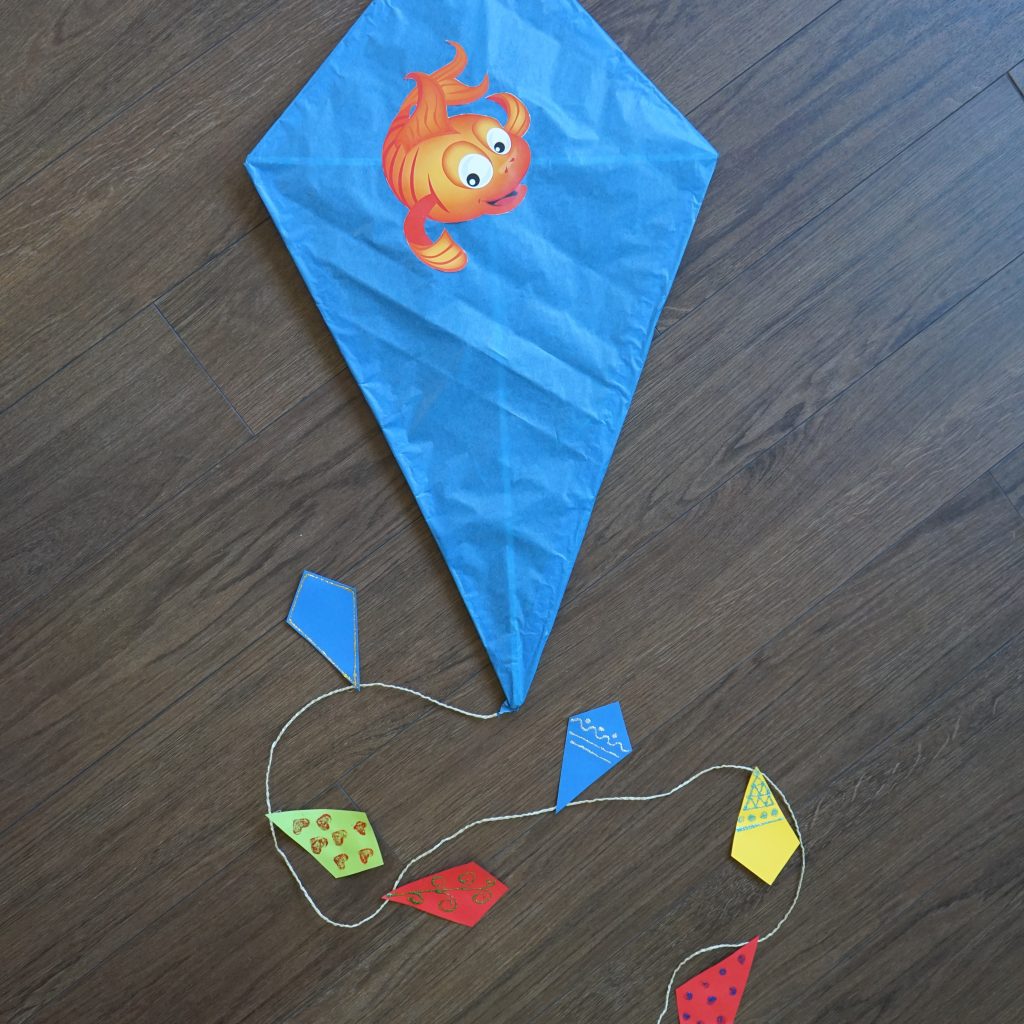
3. Place the framework on tissue paper and cut the tissue paper approx. 2-3 cm wider than the framework. The kite’s tail is made from a 1 m long string which is attached to the lower end of the kite’s scaffold. The design of the dragon’s tail is created using small triangles, circles, etc. made of craft paper, which are each glued to the string at a distance of 10 cm. BLANCOL Glitter Glue, Puffy Paint etc. can be used to decorate the kite.
4. While the decoration is drying, the pull cords can be attached. For this purpose, four 50 cm long cords are attached to the four prepared notches. The knot of these four cords should be about 20 cm above the intersection of the kite frame. The main line of approx. 10 m is then attached to this knot so that we can let the kite fly.

5. As soon as the decoration is dry, the tissue paper can be folded over the side cord to the inside and glued on with the BLANCOL glue stick.


