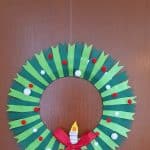
Starry sky Advent calender
Topic and craft idea of the 1st & 2nd class from Erlenbach im Simmental
Inside our handicraft box were BLANCOL glue sticks and Glitter Glue from BLANCOL. We wanted to develop a suitable craft idea for December with the following products. Within the class we decided that we wanted to design a starry sky to match our NMG theme “Stars”, which should be our Advent calendar. We had already learned that stars do not necessarily have to be yellow, but can also shine in different colours. That’s where the Glitter Glue pens came in handy.
In the following description we would like to present our project.
Products and Materials
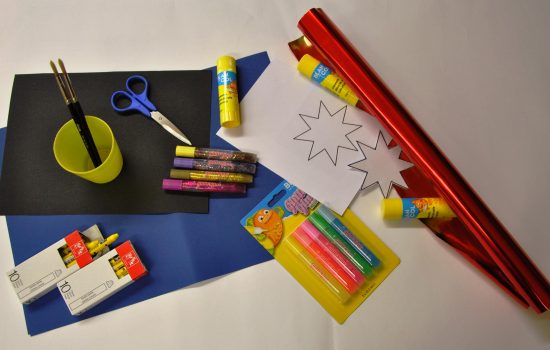
To make our starry sky Advent calendar glitter in full splendour we need the following materials:
- BLANCOL glue stick
- BLANCOL Glitter Glue
- A3 photo cardboard black
- A4 photo cardboard dark blue
- Neocolor I yellow (waterproof)
- Neocolor II yellow (water-soluble)
- golden metal paper
- star pattern
- a cup of water
- brush
- scissors
Documentation of the project
1. Prepare the required materials:
BLANCOL glue stick, BLANCOL Glitter Glue, Neocolor I yellow (water resistant), Neocolor II yellow (water soluble), photo cardboard black and dark blue, brush, water, scissors, star template, metal paper gold.
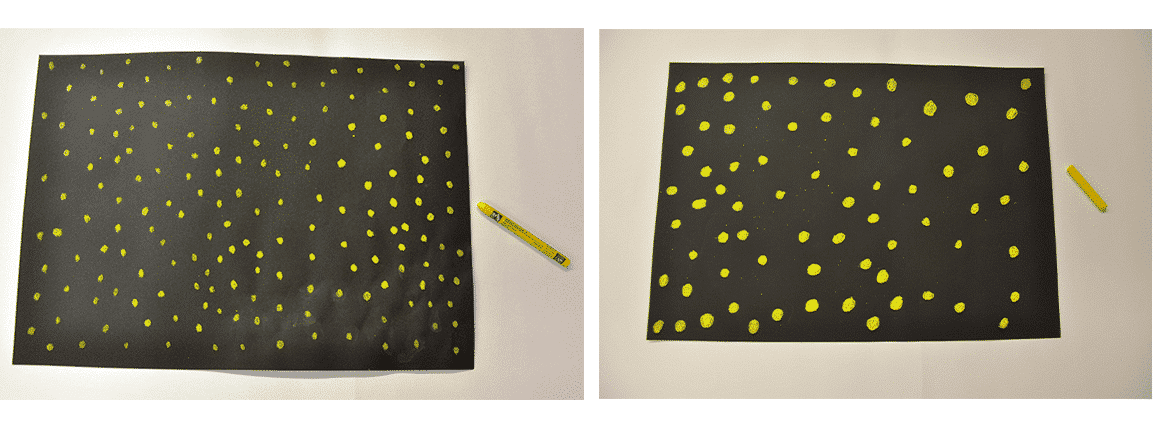
2. Starry sky on black A3 paper with Necolor I:
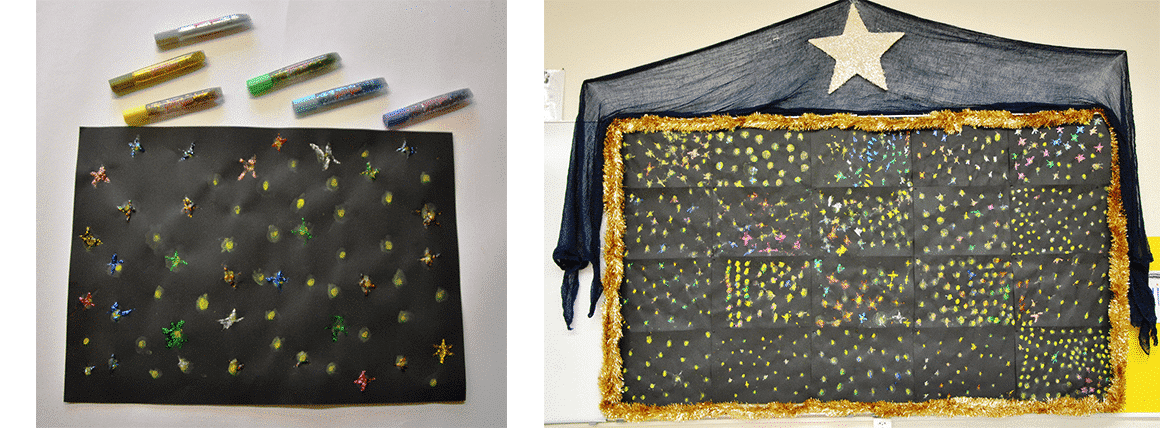
Yellow dots are painted on a black photo cardboard with yellow Neocolor I (waterproof). Distribute the dots well and paint on with sufficient pressure.
3. Starry sky on black A3 paper with Necolor II:
With yellow Neocolor II (water-soluble) the yellow dots on the black photo cardboard are again strongly circled. Again, paint with sufficient pressure until each dot has been traced.
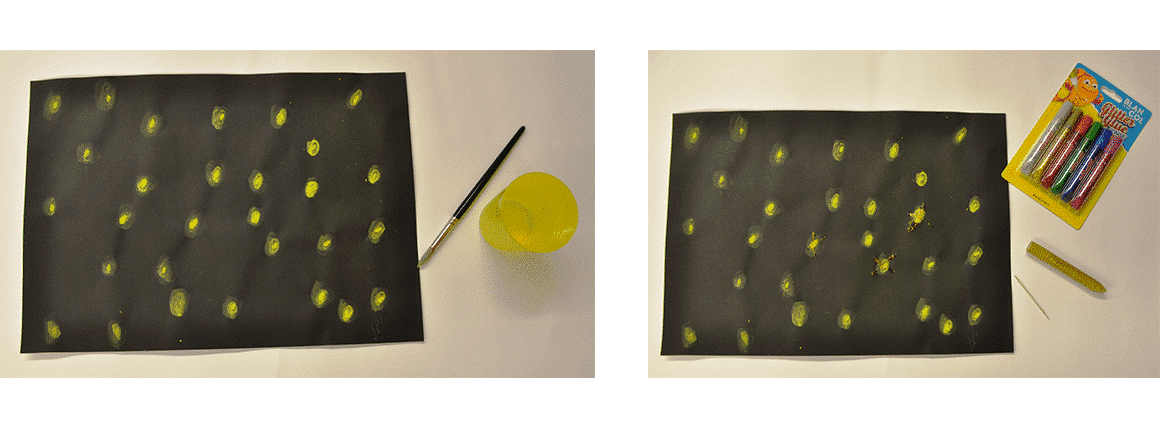
4. Starry sky with shining stars:
In order to give the stars a glow, each individual point is painted over with a wet brush. So that the watercolour casts a yellow shadow around the centre of the star.
5. Shining stars with BLANCOL Glitter Glue:
To make the stars shine a bit more, paint a dot in the middle of each star with the Glitter Glue pens. These dots are then drawn out with a toothpick so that each star gets rays.
6. Shining stars with BLANCOL Glitter Glue:
The stars should be as different in colour as possible, and like that all shiny Glitter Glue pens are being used.
7. Assembling the starry sky:
All black A3 papers are now put together to form a large starry sky on the wall.
8. Fold Advent doors:
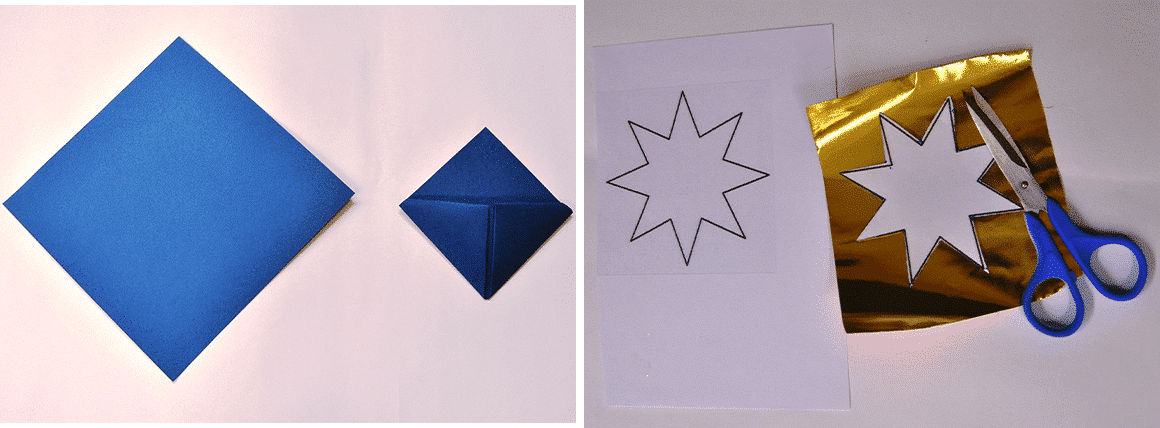
Out of dark blue A4 photo cardboard squares 24 Advent doors are now folded, which are distributed on the starry sky.
9. Stars made of glossy paper:
Cut out 24 stars from the golden metal paper.
10. Glue on stars with BLANCOL Glue stick:
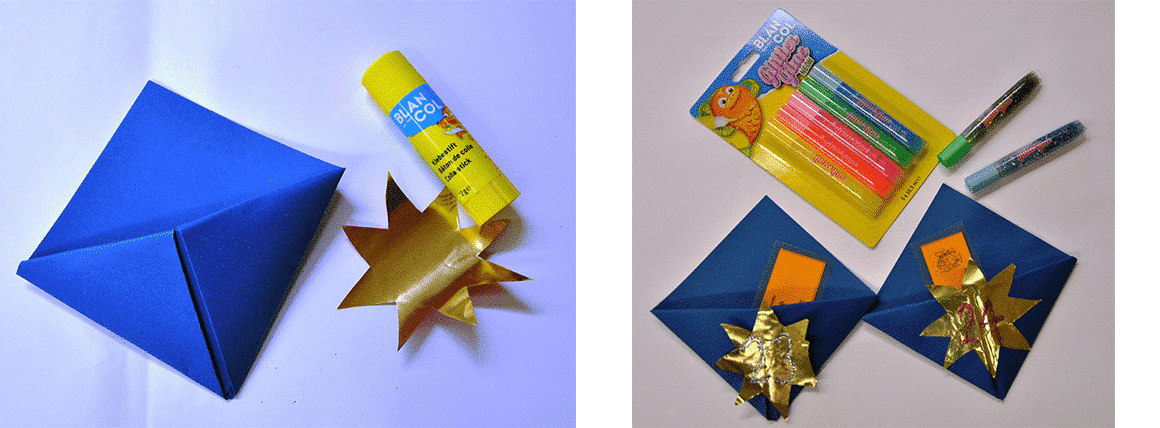
The stars are now glued to the front of the 24 doors with the BLANCOL glue stick.
11. Numbers with BLANCOL Glitter Glue:
Each star now receives a number from 1-24 with BLANCOL Glitter Glue.
12. Glue on the Advent calendar doors:
Finally, the filled Advent calendar doors are glued to the starry sky with the BLANCOL glue stick. The Advent calendar was filled with movement games and tasks for short breaks during the Advent.


