Decorative pumpkin
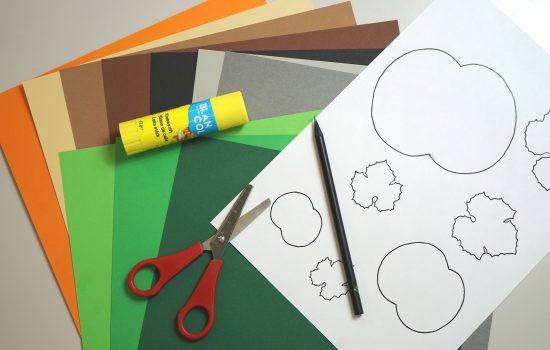
That’s what you need in material:
- Colored paper
- BLANCOL Glue stick
- Pencil
- Scissors
- Templates (find them here)


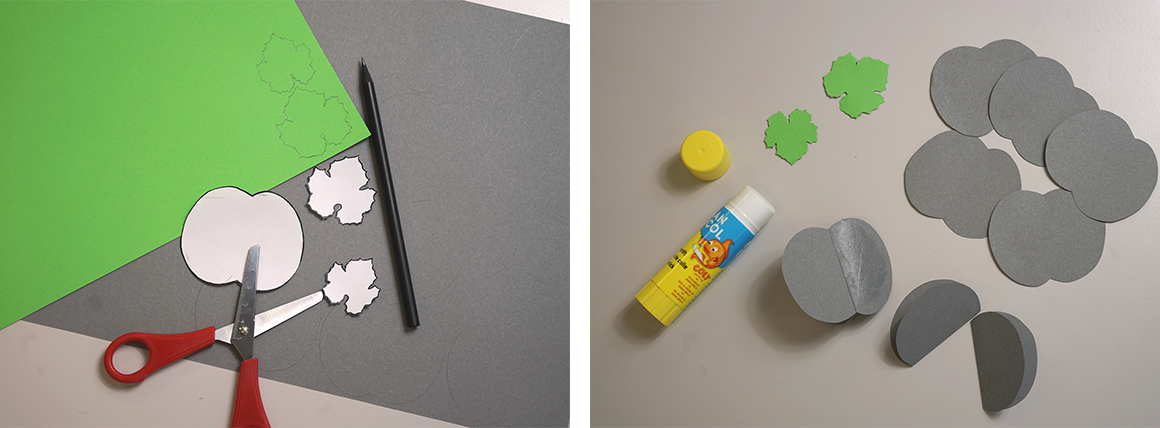
1. First choose a paper color for your pumpkins and another color for the pumpkin leaves. I chose grey and light green.
Now you can either print out and cut out the templates you find here or you can draw them yourself. Then place them on the clay paper and trace the stencils. For the pumpkins you need at least 9 pieces, for the pumpkin leaf 1-2 pieces are enough.
2. Fold your pumpkins once in the middle. Now always glue one half of the pumpkin together with another half of the pumpkin until you have no more stencils and then glue the last two open halves together to form a small pumpkin-shaped ball. now at least your pumpkin is ready. All you need not are some leaves and a small stalk.

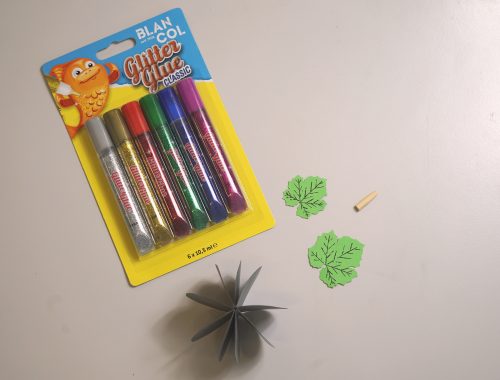
3. For the stem I cut out a small piece of paper which is 2 cm wide on one side and 1 cm and approx. 7.5 cm long on the other side. You can find a template here.
4. Before you glue on the leaves and the stem, you can decorate the pumpkin and the leaves. With GLITTER GLUE I traced a fine glittering edge around my pumpkin and decorated the leaves with a black felt-tip pen. Be careful when applying GLITTER GLUE – it needs a little time to dry properly, so I recommend to decorate the pumpkin in steps and to use a glass or cup as a support so that the glitter does not come into contact with anything else.
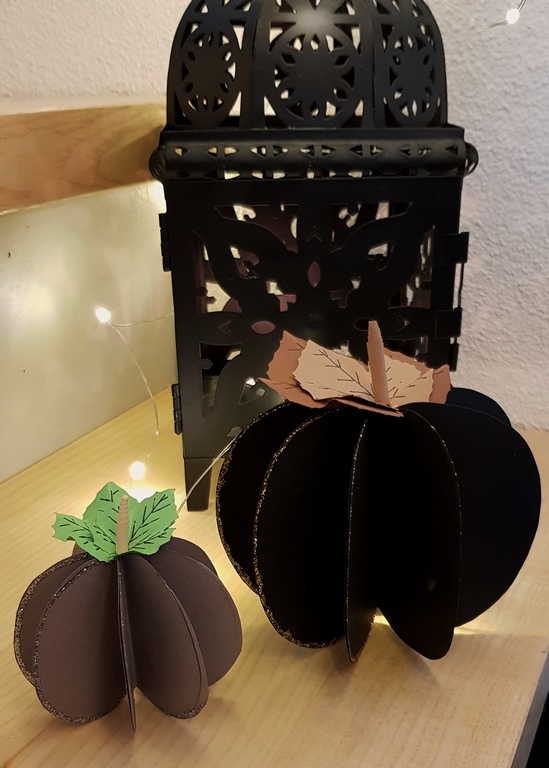
5. Once everything is dry, the leaves can be glued on first and then the stem. Your paper pumpkin is ready.


